

How to make a Fabric Corner Bookmark
Posted by Tammy Wilkerson on 17th Feb 2021
Hello crafters
Today I'll be showing you how to make one of those corner bookmarks out of fabric scraps. You can use any scraps that are bigger than a 4x4" square. This is a simple quick project. Perfect for beginners and experts alike.
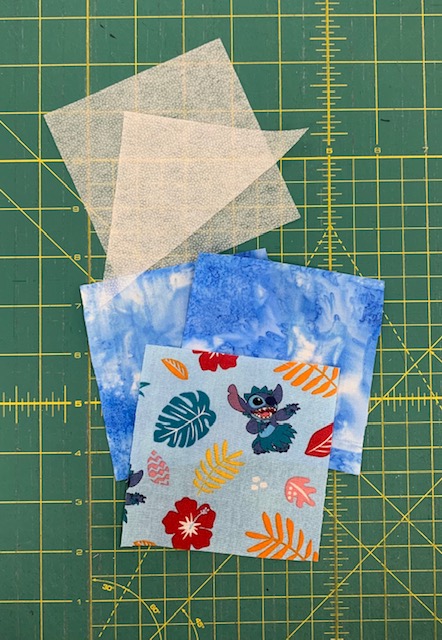
Supplies that you will need:
(3 cuts) 4×4” squares of fabric. Your fabric can be all matching, different, or a mix. Note: cotton works best.
(2 cuts) 4×4” squares of interfacing. I used Pellon 911FF featherweight. However, you can use a heavier weight. Cut one square of interfacing in half diagonally to make a triangle. Note: you only use 1 triangle. The other half can be used to make another bookmark.
After you have cut all your pieces, it is time to start ironing the interfacing to your fabric.
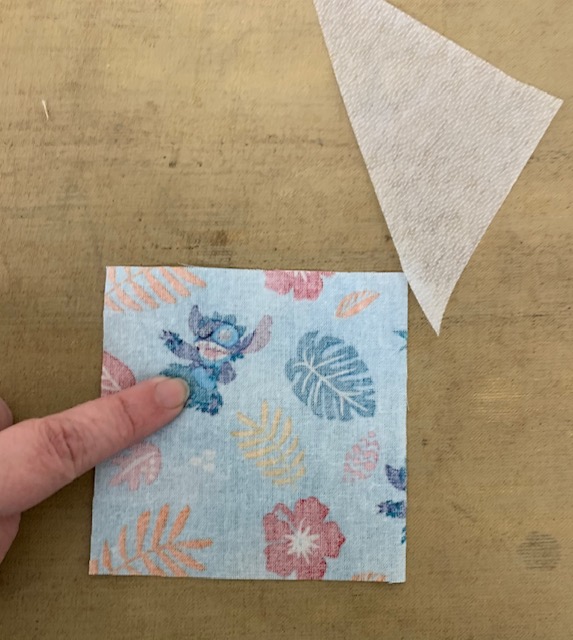
Using the fabric that you want to hang over the pages of the book, Iron the half triangle interfacing onto the wrong side of the fabric.
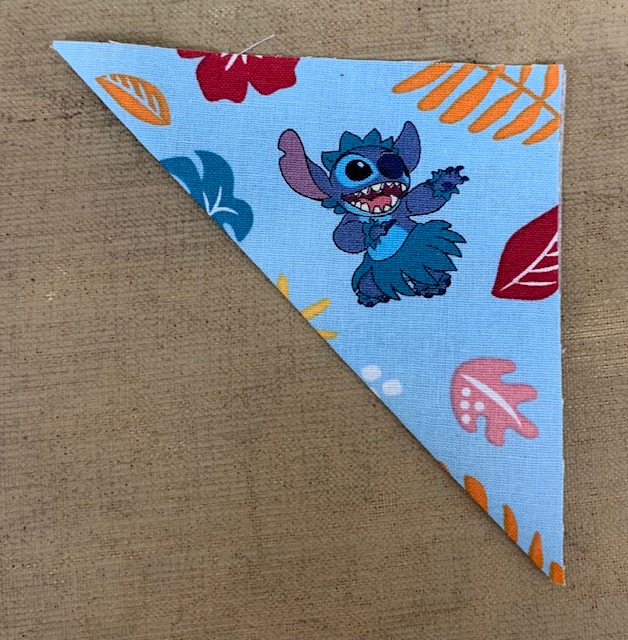
Then iron the square in half over the interfacing. This will create a triangle of fabric with interfacing in the center, with right sides having an open seam.
Using the fabric square that you want to be the back of the bookmark, iron the full square of interfacing to the wrong side of that fabric square.
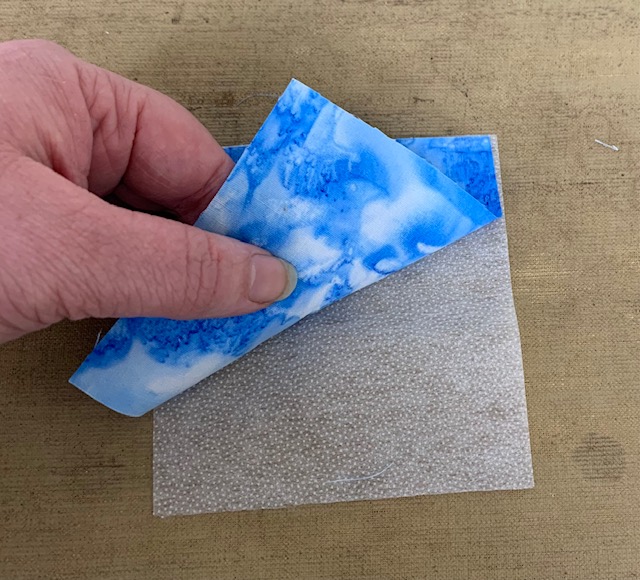
Layer your squares right sides together. The bottom layer is your NON-interfaced full square right side up. Your triangle is in the middle. Make sure the open corner with open seams is facing the top right. Last, place your interfaced square, right side down.
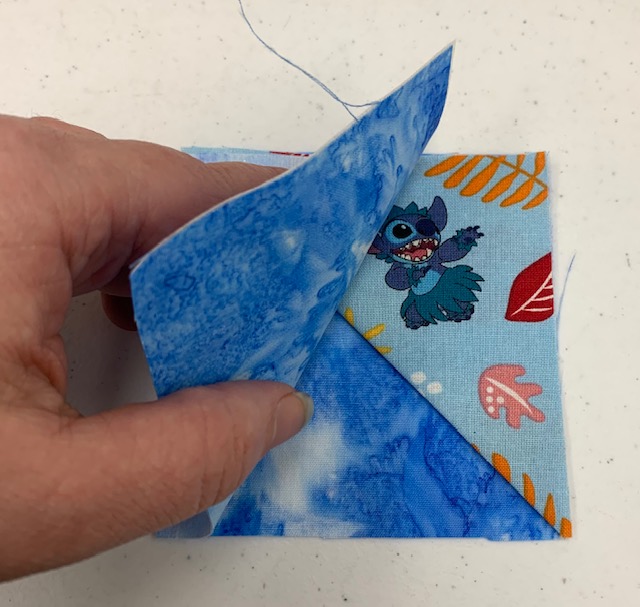
Pin your layers together and sew with a 1/8” seam allowance around the entire edge leaving a 1.25-inch opening so you can turn it right side out later. (Make sure this opening is on one of the 2 sides with only 2 layers, opposite the triangle. It makes it easier to close the opening after turning the bookmark right-side-out).

Carefully trim the corners and turn right side out. Note: Fold the opening raw edges inward. Ironing over the edges helps it lay really flat.
Top stitch around the entire edge at 1/8” seam allowance to close the opening. Note: I used a dark thread. You can also use a thread that matches you fabrics.
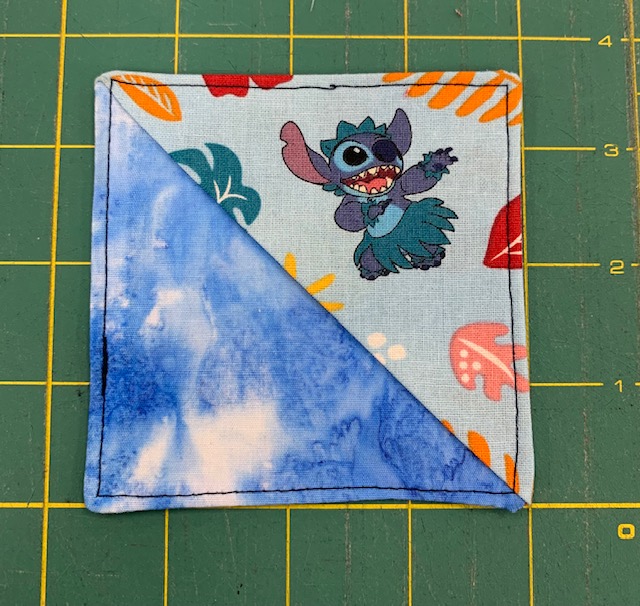
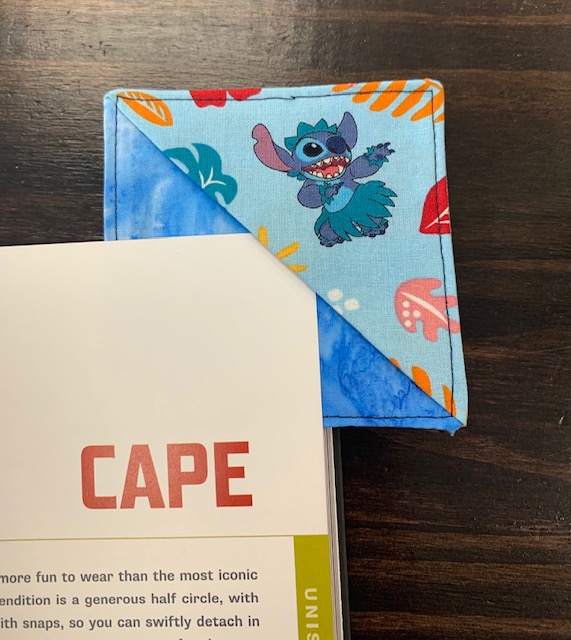
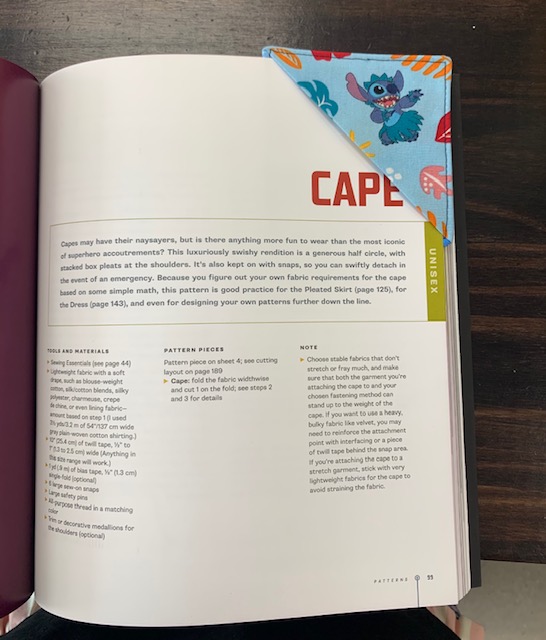
Congratulations! You are done. It should slip easly over the corner of a page like in the pictures below.
Happy sewing and crafting until next time.